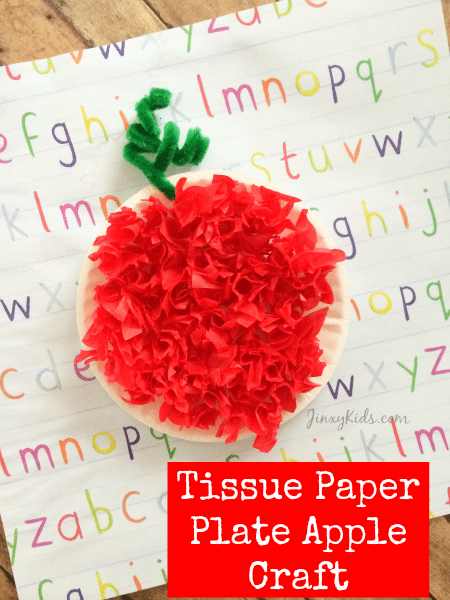
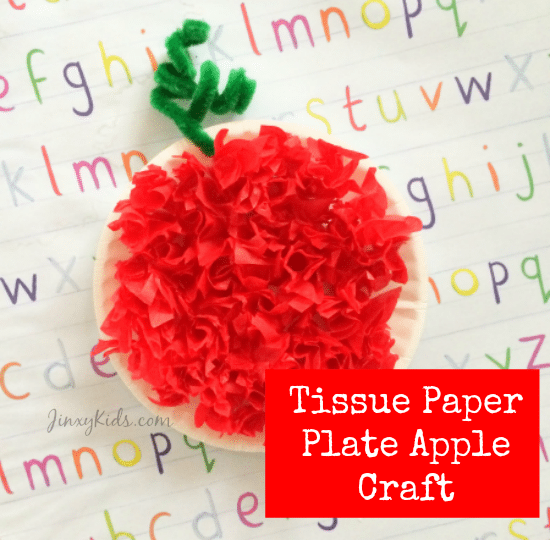
This Tissue Paper Plate Apple Craft is a fun way to celebrate fall with your kids! It’s also great for teacher appreciation week or back-to-school!
We’re glad that the days are finally cooling down and that means it’s time for both back-to-school and the fall season!!
What’s your favorite part of fall? We like the cooler weather, big piles of leaves, harvest festivals and apple picking! And then, of course, that apple picking leads to all kinds of yummy apple treats!
To celebrate those fall apples, we have have this fun Tissue Paper Plate Apple Craft!
This apple craft is easy to do and so much fun. For younger kids, you can help by cutting the tissue paper squares to get them started. All the kids, whether big or small, will have a blast dipping the tissue squares into glue and smooshing them onto the paper plate.
And while we specifically created the craft to celebrate fall, it also makes a fun teacher appreciation gift since we know apples are a traditional gift for teachers! (We suggest making it an extra-nice gift by taping a gift card on the back!)
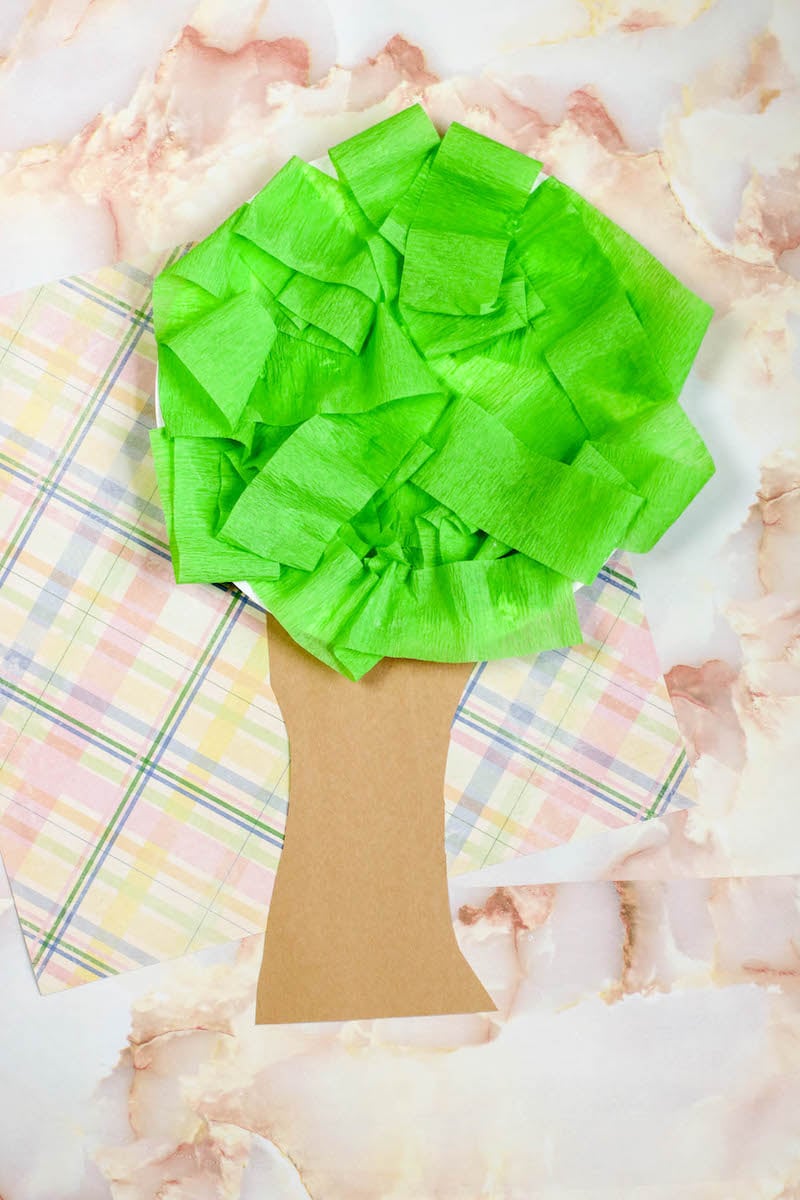
If making apples as a classroom project, create a tree trunk out of brown construction paper and tape to the bottom of the wall. Add circles of green construction paper to the top of the trunk as leaves (or if you’re ambitious cut out leaf shapes.) Then decorate the top of the trunk with all of the apples to create your own student apple tree!
For another fun apple craft you can make these Melted Bead Suncatchers to make a pretty apple to hang in the window.
Chenille Stems/Pipe Cleaners, Green


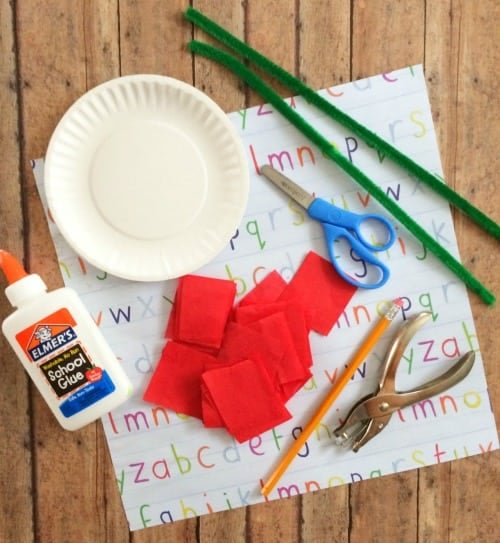
Supplies Needed
Small paper plate
Green pipe cleaner
Red tissue paper
Elmer’s glue (or any liquid glue will do)
A pencil
Hole punch

How to Make
1. Punch a hole in the top of your paper plate, slide a green pipe cleaner through. Twist and wrap the pipe cleaner around your pinky finger to create spirals.
2. Squeeze a little glue onto an extra paper plate.
3. Cut the tissue paper into lots of 2×2″ squares (or around that size, they don’t need to be perfect!)
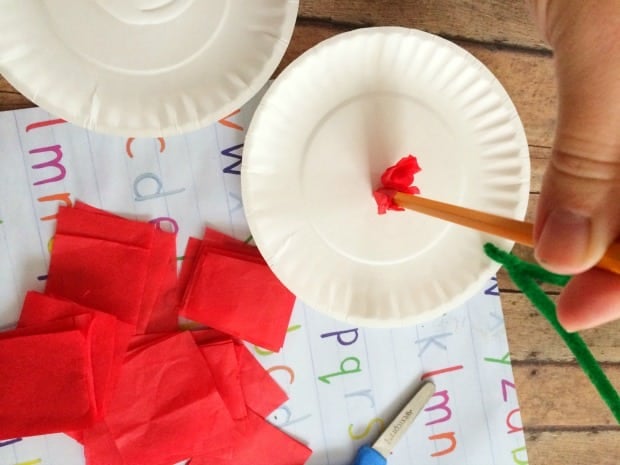
4. Wrap one tissue paper square at a time around the eraser tip of the pencil.
5. Dab the bottom of the square in glue.
6. Press your pencil (with tissue attached) onto the apple paper plate.
7. Repeat steps 4-6 until the plate is filled with tissue.
8. Let your apple dry, and display proudly, because come on – How cute are these?!?!?
- About the Author
- Latest Posts

I’m a busy blogger and happy auntie of Little R, who I spend time with several days per week – which ends up being the FAVORITE part of my week! We love to cook together, do crafts, play outside and turn boring errands into fun adventures.






Marisela Zuniga says
this is a cute idea
John Smith says
I haven’t seen a tissue paper apple plate before–maybe these could be adapted to make Christmas tree decorations!
Lisa Swanson says
Cute
MICHAEL A LAW says
This looks pretty cool
Amy D says
I just got a bunch of tissue paper for a craft project that my 7 year old daughter had to do for school. I love your craft. Scrunching the tissue paper really helps with fine motor skills and strength in the fingers. This is much needed for my 9 year old daughter.
Donna L says
This is a cute craft idea!
Sandra Dufoe says
Love doing this as a kid will have to make some with my grandkids.