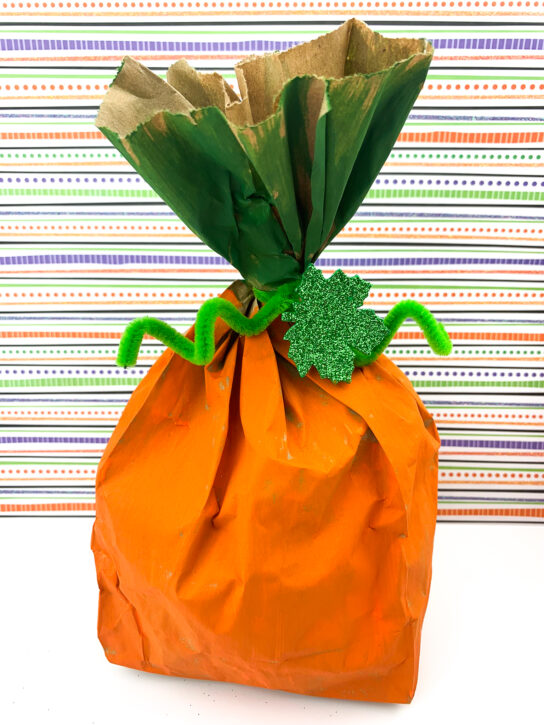
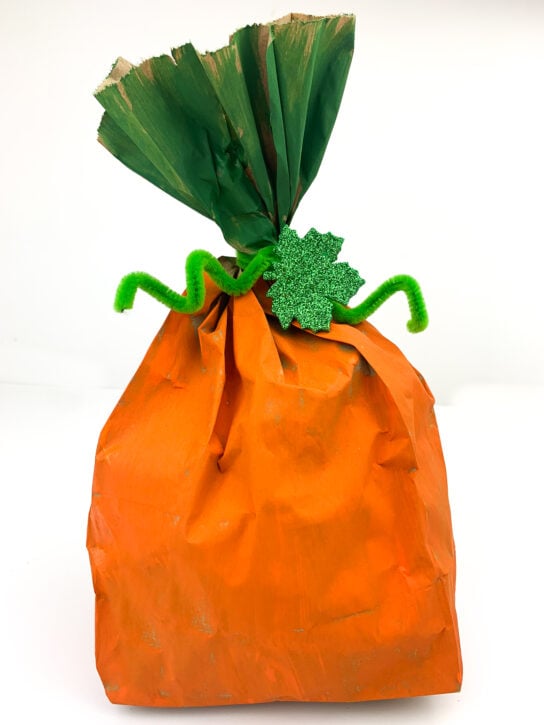
Make a pumpkin that won’t ever spoil with this fun and easy paper bag pumpkin craft for kids! Even the littlest kids can make it with these step-by-step instructions.
Fall means pumpkin season is here! Adults get to enjoy the pumpkin spice EVERYTHING, and kids have fun carving and decorating pumpkins.
If you want to decorate with pumpkins inside without having to run to the store and buy some, here’s a simple paper bag pumpkin craft that the kids will LOVE to do…especially since they get to PAINT!
This fun paper bag pumpkin is perfect to decorate for Halloween or for Thanksgiving.
At Halloween you can even choose to paint a jack-o-lantern face on the bag. At Thanksgiving, line up a row of paper bag pumpkins along the center of the dinner table or across the fireplace mantle for a fall decoration.
Apple Barrel Acrylic Paint in Assorted Colors (8 oz), 20470 Pumpkin Orange


Easy Paper Bag Pumpkin Craft for Kids
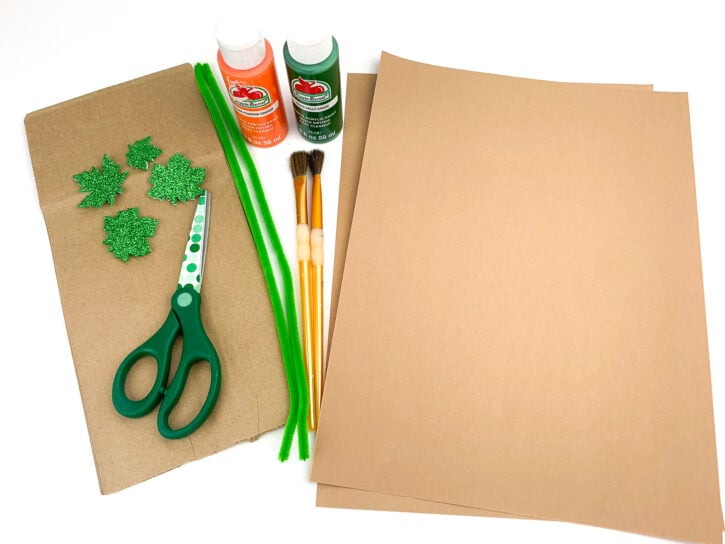
Supplies:
Brown Paper Bag
Orange Craft Paint
Green Craft Paint
Green Pipe Cleaner
Green Foam Leaf Sticker
Paper (any kind, construction paper, newspaper, you can even use plastic grocery bags to fill the bag with – for this I used two pieces of brown construction paper)
Paintbrush
Scissors (can be used for cutting the pipe cleaners shorter or cutting the bag shorter)
Marker or Pencil (for shaping the pipe cleaner)
How to make this easy paper bag pumpkin craft:
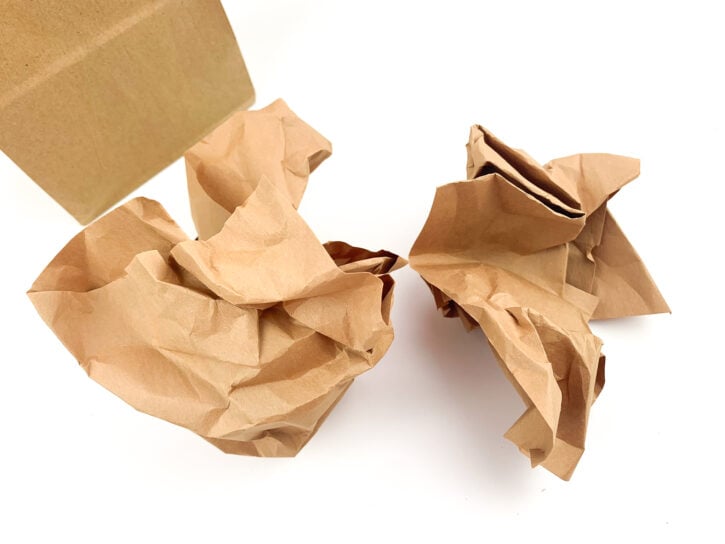
Step 1: Crumple up the paper.
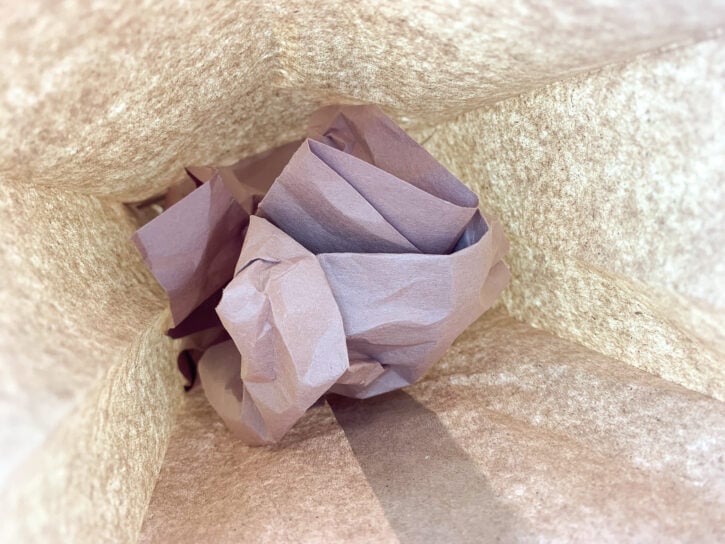
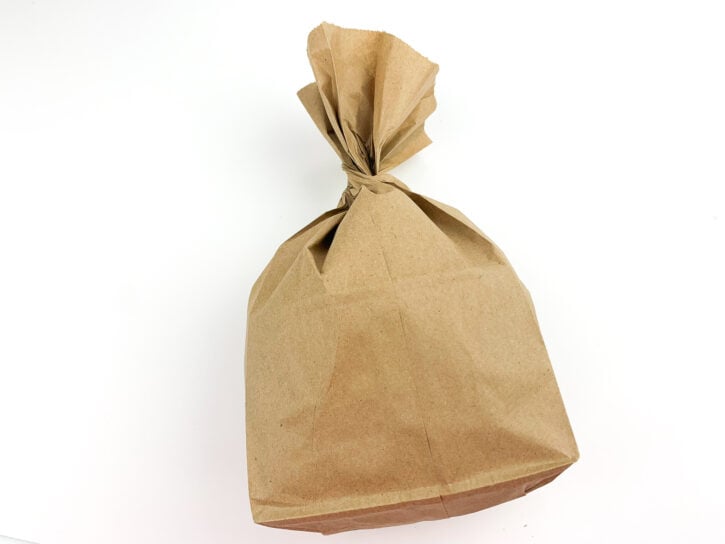
Step 2: Open the paper bag. Place the crumpled paper into the bag about halfway down in the bag.
Step 3: Close the bag. Twist the section that doesn’t have any paper around until you get a stem for the pumpkin.
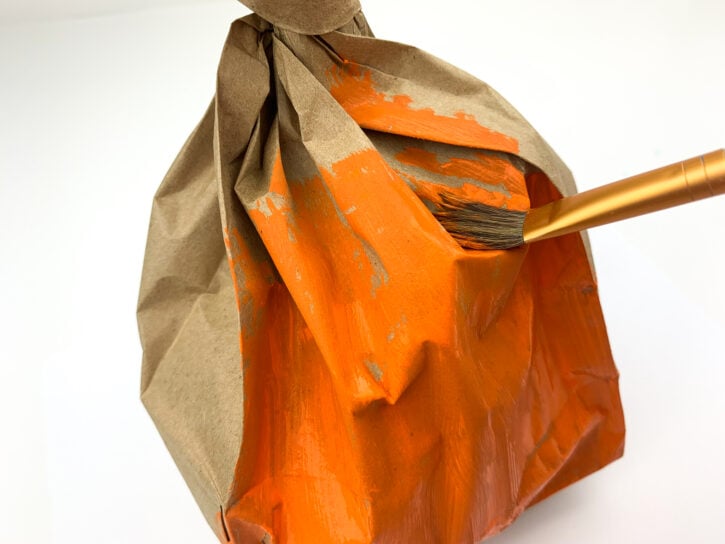
Step 4: Paint the bottom part of the pumpkin orange. Set aside to dry.
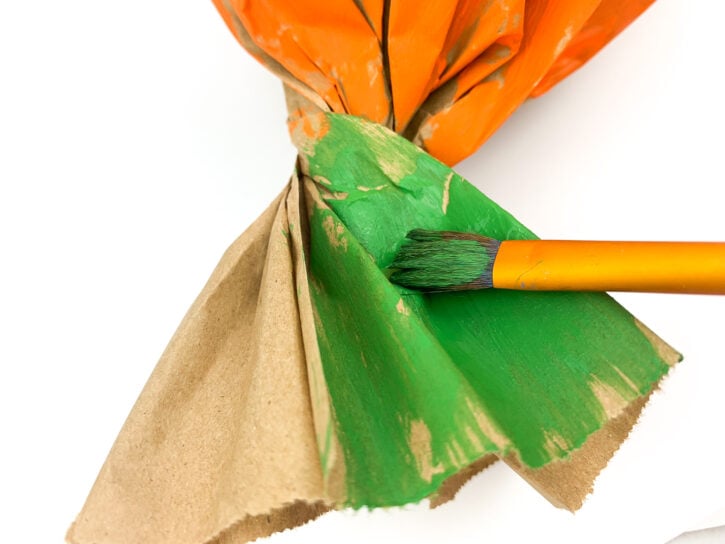
Step 5: Paint the pumpkin stem green. Set aside to dry.
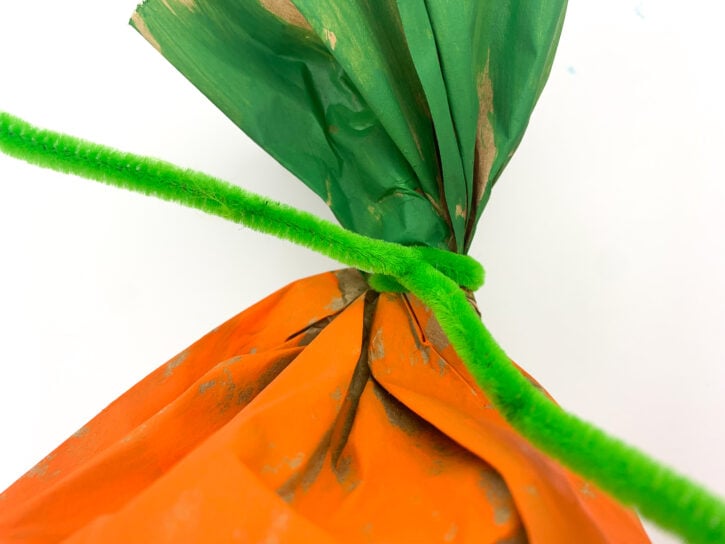
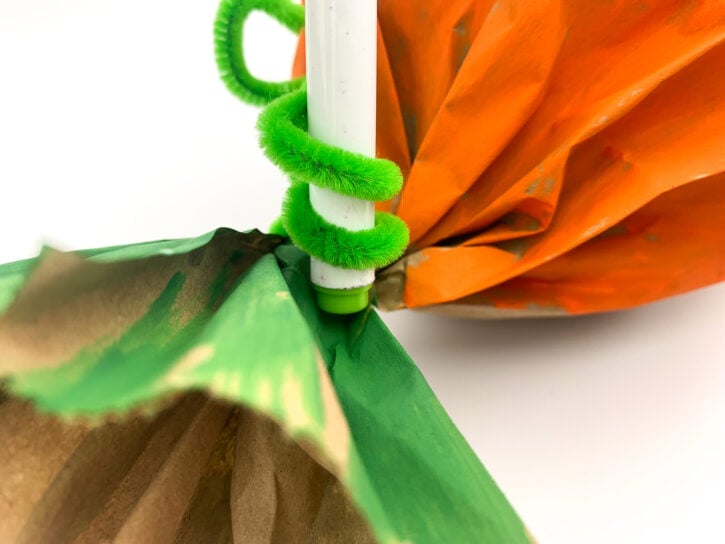
Step 6: Use the green pie cleaner to twist around the top of the bag to secure the bag. This will be the “pumpkin vines.”
Step 7: Use a thin marker or pencil and twist the pipe cleaner around the marker to give it a twirly shape.
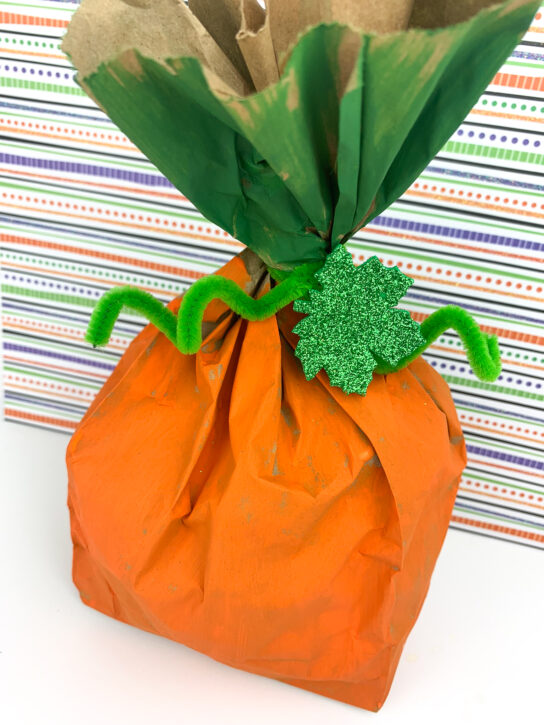
Step 8: Attach the leaf sticker to the front of the bag where the vine is located.
Now you’re ready to display your cute pumpkin!
- About the Author
- Latest Posts

Laura is a former high school English teacher turned avid deal shopper following the birth of her first child. Now she’s a work-from-home mom of six which keeps her plenty busy! On the off chance she gets some free time you’ll find her with her nose in a book, spending time with family and friends, or enjoying a hot cup of coffee.




Leave a Reply